
If you’re serious about making your food photography shine—whether for a blog, Instagram feed, or just to take more pleasing pictures at home—there are a few foundational rules and practical tactics that can elevate your work. Capturing a burger on a sunny patio might look effortless, but photographing a humble salad in a way that feels vibrant takes intention. Here’s a refined guide to help you improve your food photography with more confidence, clarity and creativity.
Why this matters
Improving your photography isn’t just about upgrading your gear—it’s about refining your eye, your process, and your brand. I used to snap away on a basic point‑and‑shoot camera for a personal blog while living abroad. Low light, odd angles, minimal thought went into it. Over time I realized my audience was broader than just close friends and family—and that meant the photos needed to improve. So I began to practice deliberately, seek out learning opportunities, and experiment until I found what worked. That growth journey? It applies to you too.
The photographer’s mindset
You can split progress into three parts:
- Practice: Come back to an image again and again. I replaced photos in older posts multiple times until I got one I really liked.
- Learning: Read, watch, ask questions—there’s a lot to pick up about lighting, lenses, composition.
- Experimentation: I was fortunate to have a neighboring photographer borrow me equipment and guide me through trial and error. Even without that luxury, you can still try different setups, props and approaches to find your signature style.
But before you dive into gear, there’s a “code of honor” worth keeping in mind. Integrity matters. Don’t present an image that misrepresents the dish or recipe. Authenticity builds trust—and faking it (for example, using mashed potatoes to stand in for ice cream) breaks it. Even if you’re not a pro, your audience can tell. Ensuring what you photograph is real is a subtle mark of respect to your craft.
Gear and set–up essentials
- A decent camera is a big help if you’re taking this seriously. I tried several DSLR options before choosing one that felt intuitive and produced reliable results.
- Don’t obsess over a single all‑purpose zoom lens. I’ve found static (prime) lenses—like an 85mm for tighter compositions and a 35mm for flatter, wider scenes—deliver sharper, cleaner food shots.
- A sturdy tripod goes a long way. Sharpness matters in food images—especially if you’re working handheld under modest light.
- Natural light wins: artificial sources often introduce odd color casts. I use a window, a basic reflector or diffuser, and inexpensive mat boards to bounce or block light where needed.
Styling your food (and your shoot environment)
- Think of the food as the star, but the props, backgrounds and texture play critical supporting roles. Study good food photography (e.g., on curated sites) and ask yourself why it works.
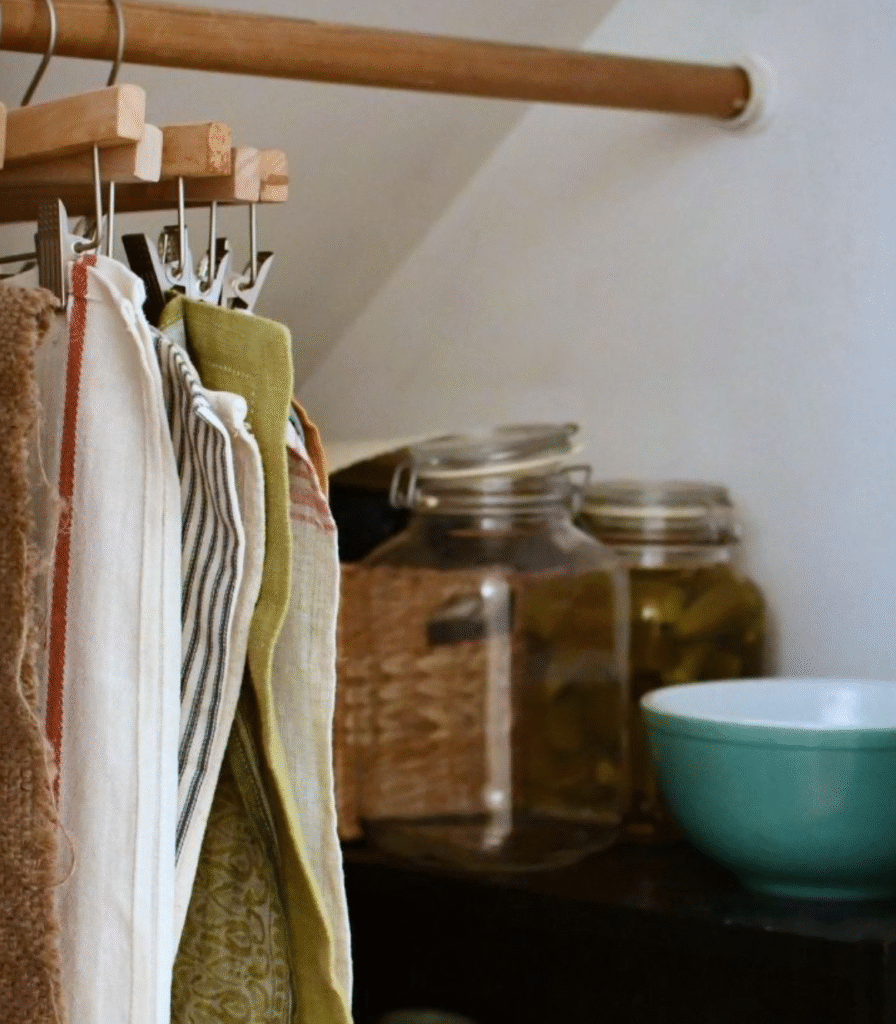
- Build a small prop kit: cutting boards, plates, bowls, fabrics, wood slabs, background materials. They help you switch up looks (rustic, minimalist, modern) and stay consistent.
- Define your style: do you prefer airy brightness, deep moody tones, rustic charm? Picking a visual identity helps viewers recognise your work and strengthens your brand.
- Layers matter: bring in color contrasts, texture differences, depth (foreground, middle ground, background) to keep the image dynamic.
- Be mindful of reflections and color casts: stand away from your scene if your clothing or surroundings might cast unwanted hues. Using neutral tones in your workspace helps.
Lighting & setup strategy
- A large window (ideally north‑ or east‑facing) is your best friend. Place your table close to the window and work with the light it gives rather than fighting it.
- Avoid direct sunlight: harsh light creates blown highlights and deep, distracting shadows. Ideally you want bright yet soft, diffused daylight.
- On rainy or dull days, light can skew bluish‑grey. If possible delay your shoot or supplement with artificial light matching daylight temperature.
- Use reflectors and mat boards (white for bounce, black for absorbing unwanted light) to clean up shadows without flattening the food entirely. A little shadow gives dimension; no shadow gives flatness.
Post‑processing & finishing touches
- Even with excellent gear and lighting, some post‑work helps: correct color, refine brightness, ensure your whites are true white, your greys are neutral.
- Use a grey card or include a white/grey area in your frame so that your editor (software or app) has a reference.
- If you operate a brand/blog/Instagram account, consider creating one consistent filter or editing template. That helps all your images feel like they belong together.
- Smaller image files increase site speed (important for blogs) and lower the chance of your images being hijacked and reused without credit.
By embracing practice, building your setup thoughtfully, and committing to styling, lighting and editing, you’ll see your food photos move from “nice” to “compelling.” The journey from amateur snaps to intentional visuals is totally achievable at home. With a window, a few props, and a curious mindset, you can create images that feel professional, cohesive and true to your voice.

